.JPG)
Inspiration- got the idea?
Like any other girl of the 21st century, I frequent Pinterest to get ideas for things to "do it myself." I have a board created with the sole purpose of collecting past, present, and future ideas. Some may be exact recreations of the projects, others turn into pieced together creations of several inspirations. Either way, it's a mayor source of getting me on the right track.My second source is the blogs I follow. One chica who has got this alteration/repurposing thing down pat is the genius behind New Dress a Day who literally oozes of this sort of thing. A Beautiful Mess is very much focused on a homemade life style and offers all kinds of examples for personal creations. Though they only mention specific DIY posts from time to time, Delightfully Tacky and Selective Potential inspire me on a daily basis. Several items and outfit pairs from their blogs spark an idea for me to recreate something similar.
Finally, sometimes inspiration just comes upon you.. not from an outside source. Look at what you've got to work with. If you have an item you just don't wear as often as you'd like, look at it and look at what you could use to improve it. Think of alteration options or details you could add to it, and let your imagination create your inspiration.
.JPG)
Creation- the amateur's method

1. Mark your territory
Before making any permanent decisions, MAKE MARKINGS!! It is extremely important that you're able to visualize what you are about to cut, hem, glue-- anything. You should always have some guide lines to ensure an even/straight turn out.
When making your markings for cutting (particularly for hems), leave at least a couple inches for safety's sake. Give yourself room for mistakes; you can always keep cutting away, you can't get material back.
When sewing one thing to another, make sure you like how it looks/aligns before the permanent joining together happens. But be aware that something may shift in the process. I personally love using pins, I use them like a fanatic. That way, I can keep pieces exactly how I want them to turn out until they are sewn together that way.
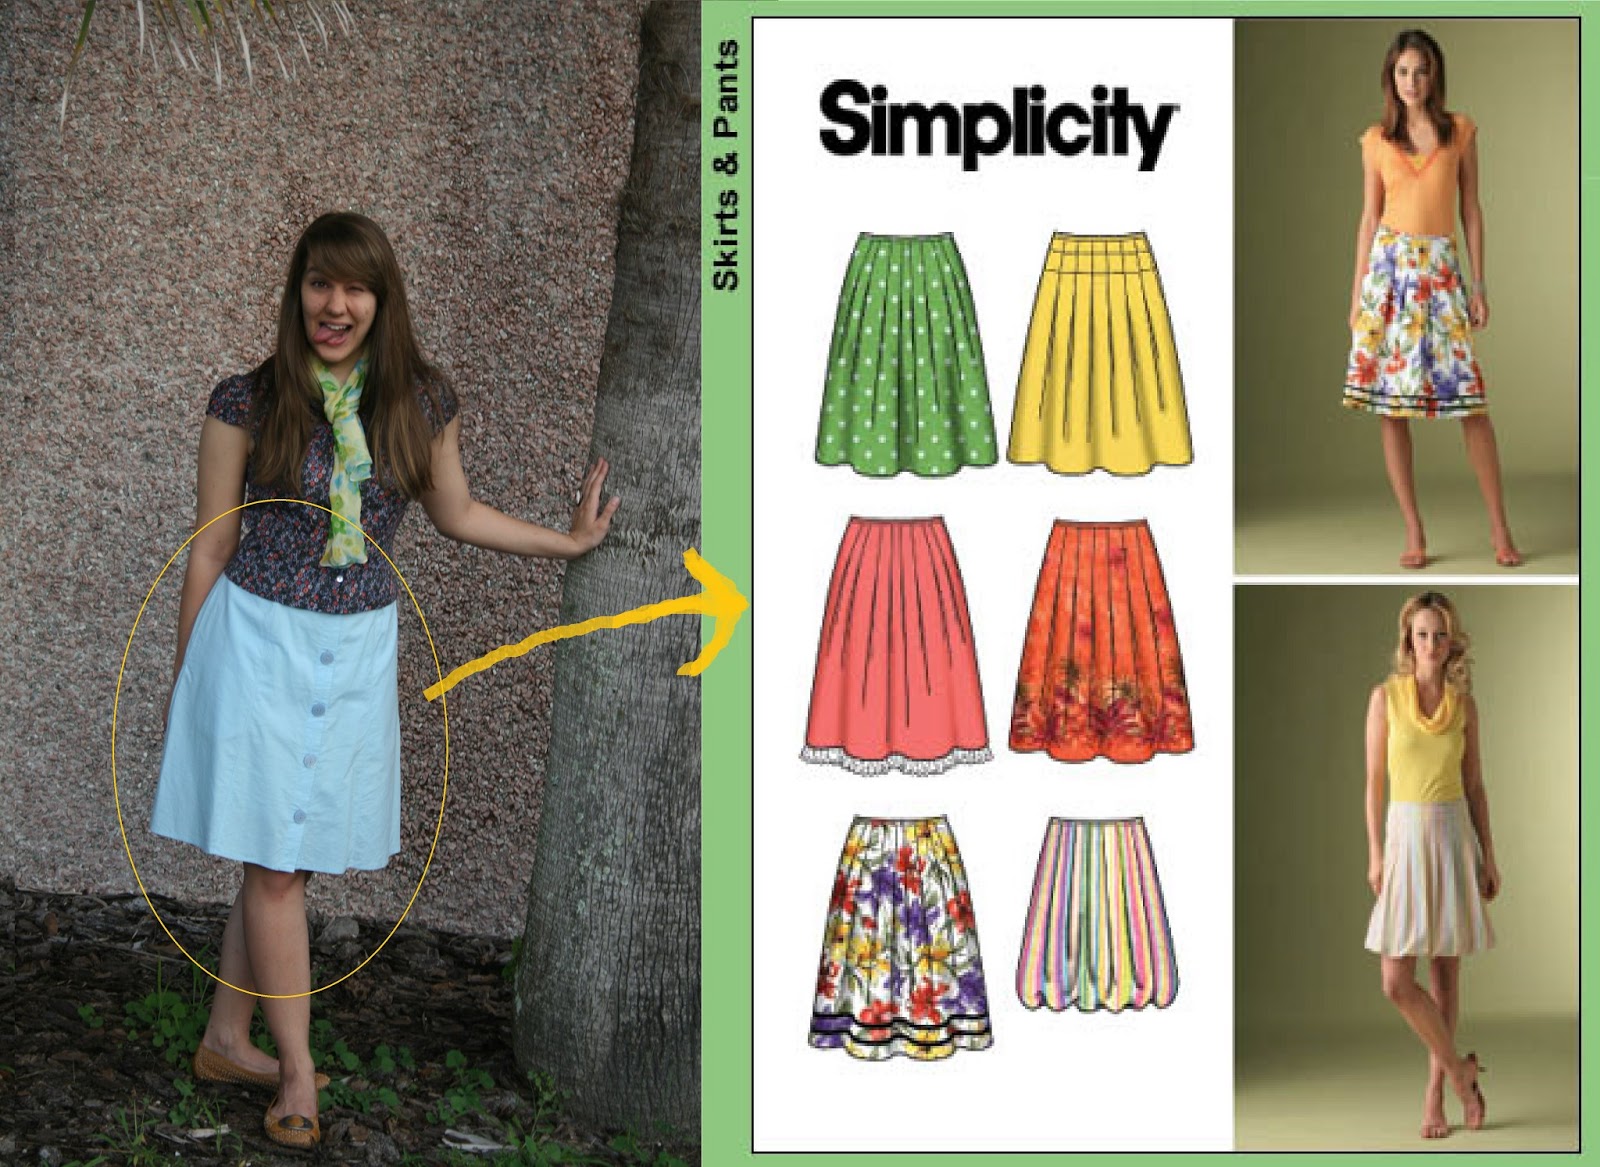
Of course, this is a step you take whether or not you know what you're about to do. You may be following a clothing pattern, and that outlines the steps of making marks very specifically.
 For patterns, you don't have to worry too much about "if" your work in progress will turn out as you imagine the outcome because it's already laid out in steps for you. You could, however, be changing the length or a few details about the pattern to fit yourself better, which I encourage unless you want the exact cookie cutter result.
Either way, marking your steps before making action is crucial to ensuring confidence in the end result.
2.Take the plunge
There's not much else to do than to start sewing. The way I always work is by sitting down at my machine and just trying things. Let your instinct kick in and go off book from time to time. Your creative juices will guide you in the moment, don't let fear of messing up keep you too frozen to put the first stitch in your fabric. Once you have your marks set, make your creation happen. Sometimes it will fail miserably, other times it will become something beautiful that you're very proud to have made. Trial and error is a huuuuge part of growing skills. The only way I have been able to know what to do and what not to do is by making plenty of "screw up pieces" in the past. This is why using cheap, thrifted, and old items to begin is smart-- not as much pressure when your garment doesn't have value to lose, only to gain, from the project.
Extra tip: less is often SO MUCH MORE. Don't feel like you have to do some enormous makeover to your clothes to make it worth an alteration. Adding too much to a piece can ruin what you already had. Start small, and see where the changes take you. It doesn't take a lot to pull off a successful tweak.

Renovation- compare its "wearability" to what you once had
Remember, the purpose of going through the effort you just did is to make something you can incorporate into your wardrobe. If the seams are delicate or the cut is too stiff, you're not going to enjoy wearing it (not to mention, it will more than likely unravel in the washing machine or you'll split it in half while trying to sit down). Things should be fitting, but not too snug. Like I said, always give room for error... but also leave room for your natural body. So, while sewing, keep movement and space in mind. If you're worried, wear your creation at home a couple times before going out and about with it and test how it will react to particular actions.Beyond even the fit, the practicality of your newly completed piece should do your work justice. If you've made a darling skirt with your sweat, tears, and blood and come to find that it doesn't match anything in your closet, it doesn't matter how adorable its lace trim or embellished rustic buttons are. Even the best clothing that flatters your figure and fits like a glove becomes useless if it cannot be worn. Pair your creation with at least two outfits that you know you'll revisit fairly often, and your effort will not be in vain.*
*A general rule of thumb with most any clothing you own

No comments:
Post a Comment